Welcome to Lawnmowing99! Hello there, fellow gardeners! If you’ve been gardening for a while, you know that every season is an opportunity to try something new, to push the limits of what we can grow, and to experiment with fresh ideas. One of the most rewarding—and eco-friendly—techniques I’ve discovered over the years is growing seedlings in eggshells. Not only is it a great way to reuse kitchen waste, but it’s also an incredibly effective method for nurturing your seedlings until they’re ready for transplanting into the garden.
In this information, I’m going to take you through my personal journey of growing seedlings in eggshells, the successes I’ve had, and the challenges I’ve faced along the way. Whether you’re a seasoned gardener or a complete beginner, this method could be a game-changer for you, and I’m excited to share it with you.
My First Attempt at Growing Seedlings in Eggshells
I remember the first time I decided to try growing seedlings in eggshells. It was one of those Pinterest-inspired moments where I thought, “Hey, why not? It’s eco-friendly, it’s unique, and it could save me some money on seed-starting containers.” But to be honest, I didn’t expect it to work as well as it did.
I was in the middle of a particularly busy gardening season, juggling several projects, so I was looking for something simple and sustainable. I was about to throw away a carton of eggshells and had a lightbulb moment: Why not use them for my seedlings? I mean, they’re biodegradable, they hold nutrients, and they’re the perfect size for tiny plants. Plus, I had heard that eggshells are great for adding calcium to the soil.
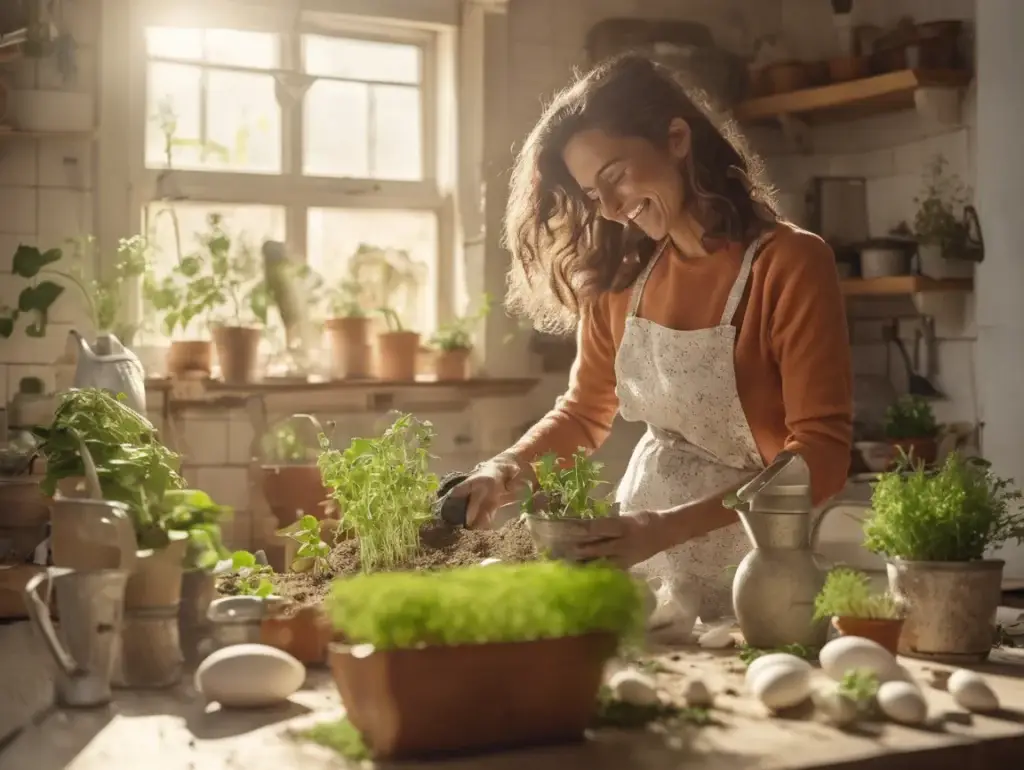
That day, I cracked open a dozen eggs for breakfast, rinsed the shells out, and got to work. I used them to start my tomato seeds, and to my surprise, the seedlings took off faster than I expected. Within weeks, they were healthy, strong, and ready to be transplanted into the garden.
Now, after years of experience, I swear by the process. Growing seedlings in eggshells not only gives them a strong start but also helps me cut down on waste, which is something I feel good about. Let me walk you through the process so you can try it yourself.
Step-by-Step Guide to Growing Seedlings in Eggshells
Step 1: Save Your Eggshells
First, if you’re new to this method, you’ll want to start saving your eggshells. Every time you make breakfast (or bake a cake), set aside your eggshells. Rinse them thoroughly to remove any leftover egg whites, then leave them to dry out completely. I used to store them in a plastic bag in the pantry, but now I have a little container by the sink specifically for eggshells, making it easier to save them as I go.
The nice thing about growing seedlings in eggshells is that they’re totally biodegradable, so they won’t sit in a landfill forever. Instead, they’ll break down naturally when you plant them in your garden.
Step 2: Prepare the Eggshells
Once you’ve collected your eggshells, the next step is to prepare them for planting. Use a small spoon or your fingers to gently tap the top of the eggshell. I like to create a small hole in the top, which allows the plant roots to grow through when it’s time to transplant. You don’t want to make a huge hole—just big enough for the plant’s roots to escape.
I’ve also found that lightly crushing the bottom of the eggshell (just a little, not too much) helps with drainage. This step is important, especially if you’re using an eggshell that’s particularly thick. It ensures the water won’t collect at the bottom and cause root rot, which I’ve definitely experienced when I skipped this step in the past.
Step 3: Fill the Eggshells with Soil
Now comes the fun part: filling the eggshells with soil. I recommend using a high-quality seed-starting mix that’s light and airy. Avoid using garden soil, which can be too dense for delicate seedlings. I’ve used a mixture of peat, vermiculite, and perlite, and found that it provides the perfect texture for seed starting.
Fill each eggshell about halfway with soil, then lightly press it down to make sure it’s compact but not too dense. Leave some space at the top so you can plant your seeds.
Step 4: Plant Your Seeds
Now, it’s time to plant your seeds! Use a pencil or a stick to make a small indentation in the soil, and then drop in your seeds. I’ve found that growing seedlings in eggshells works best for small to medium-sized seeds, like tomatoes, peppers, and herbs. I usually plant two seeds per eggshell just in case one doesn’t sprout.
Cover the seeds with a small amount of soil, gently pressing it down again, and water lightly. One of the things I love about using eggshells is that they’re easy to water—just a quick pour, and you’re done. But be careful not to over-water, as seedlings in eggshells need to stay moist, not soggy.
Step 5: Provide the Right Conditions
To get the best results when growing seedlings in eggshells, you’ll need to provide the right environment for germination. Place your eggshells on a shallow tray or an old egg carton. I’ve found that setting them on a windowsill with good sunlight or under a grow light helps the seeds germinate quickly.
Keep the soil moist but not drenched, and make sure the temperature stays between 65-75°F (18-24°C). I use a small space heater near my seedlings if I’m growing them in a cooler room to keep them warm enough.
Step 6: Transplant to the Garden
Once your seedlings are large enough to handle (about 3-4 weeks after planting), it’s time to transplant them. You can either break the eggshells apart and plant the seedling directly into the garden, or you can plant the entire eggshell along with the seedling—egg and all! I’ve had great success with both methods, and I find that the eggshells break down relatively quickly in the soil, adding valuable calcium to my garden.
Just make sure to harden off your seedlings by gradually exposing them to outdoor conditions for a week or so before transplanting them into the ground. This step helps them acclimate to the outdoor environment and reduces the risk of transplant shock.
Successes and Challenges with Growing Seedlings in Eggshells
Like any gardening technique, growing seedlings in eggshells comes with its own set of challenges. One of the most common issues I’ve encountered is the eggshells breaking before the seedlings are ready to be transplanted. I’ve learned the hard way to handle the shells with care, especially when moving them from one location to another.
On the flip side, I’ve had tremendous success with this method. The seedlings I’ve started in eggshells have always been healthier and stronger than the ones I’ve started in plastic trays. Plus, the best part is that I get to reuse something that would otherwise go in the trash. It’s like a mini victory for the environment and for my garden!
Final Thoughts
If you’ve been considering growing seedlings in eggshells, I encourage you to give it a try. It’s a simple, sustainable, and effective way to give your plants a head start. The key is being patient and taking care of your seedlings, just as you would with any other planting method.
I’ve found that, over time, this process gets easier, and I’ve learned what works best for me through trial and error. If you’re new to it, don’t be afraid to experiment and adjust based on your own garden’s needs.
Like, Share, and Subscribe!
Thanks for reading this information on growing seedlings in eggshells! If you found these tips helpful, don’t forget to like, share, and subscribe to Lawnmowing99 for more gardening insights and tips. I’d love to hear about your own experiences with seed starting—have you tried using eggshells? Let me know in the comments!
Happy gardening, and see you next time!