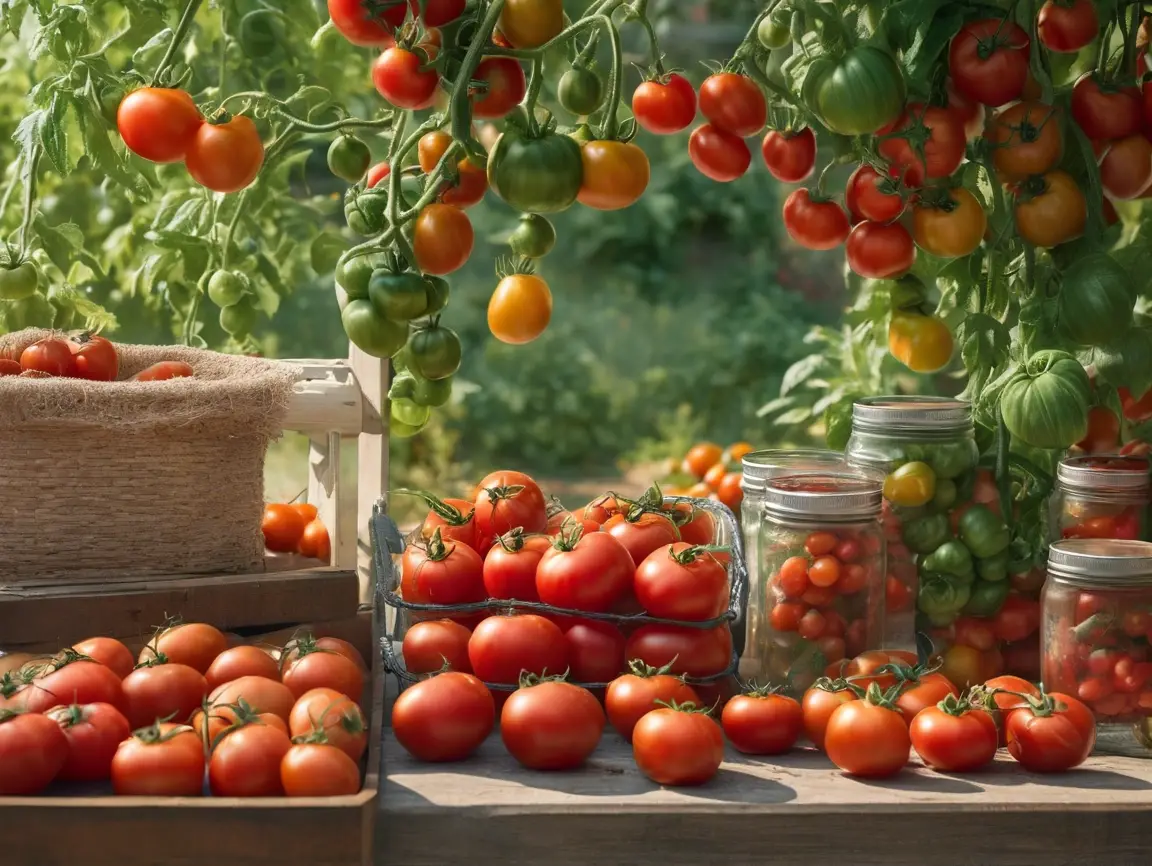
Welcome to Lawnmowing99! If you’re like me and love growing your own tomatoes, you know that harvest time can sometimes be overwhelming. You start with a few tomato plants, and before you know it, you’ve got a bounty on your hands—more tomatoes than you can eat fresh. That’s when the fun begins: preserving tomatoes.
Over the years, I’ve experimented with several methods to preserve my tomato harvest. From freezing to bottling (canning) to drying, I’ve tried it all. Each method has its own set of advantages, and believe me, I’ve made my share of mistakes along the way. I’ve learned what works and what doesn’t, and in this information, I’m going to share my personal experiences, successes, and challenges when it comes to preserving tomatoes.
If you’re ready to take your tomato harvest to the next level and make sure those juicy fruits last throughout the year, keep reading! And don’t forget to like, share, and subscribe to Lawnmowing99 for more gardening tips and tricks.
Why Preserve Tomatoes?
Before I dive into the details, let’s talk about why preserving tomatoes is so important. Tomatoes are one of those crops that really shine in peak season, but they can quickly lose their flavor and texture once they’re harvested. Whether you have a few extra ripe tomatoes on your countertop or an entire garden full of them, preservation is a great way to extend their shelf life and enjoy that fresh, summer flavor all year long.
For me, preserving tomatoes was born out of necessity. In the early days of my gardening journey, I didn’t know what to do with the surplus of tomatoes I’d grown. At first, I ended up giving a lot away to friends and family. But I quickly realized that I wanted to keep that amazing tomato taste on hand, especially when the cold months rolled around.
So, I set out to learn how to preserve them in a way that would best suit my needs and storage space. Over the years, I’ve experimented with three primary methods: freezing, bottling (canning), and drying.
Freezing Tomatoes: My Go-To for Quick & Easy Preservation
Freezing tomatoes was the first preservation method I ever tried, and I have to admit, it’s still one of my favorites. Why? Because it’s simple, fast, and doesn’t require any fancy equipment.
In the beginning, I used to just toss whole tomatoes in a plastic bag and stick them in the freezer, but quickly realized that wasn’t the best approach. While freezing works well for most fruits and vegetables, tomatoes need a little extra care to retain their flavor and texture after thawing.
How I Freeze Tomatoes:
- Blanching: I start by blanching my tomatoes to remove the skins. It’s a simple process—just boil a pot of water and drop the tomatoes in for about 30 seconds, then immediately transfer them to an ice bath. The skins slip off so easily after this process, and it makes the freezing process much more efficient.
- Chopping: After peeling the tomatoes, I chop them into chunks, removing the seeds (though this step is optional, depending on the recipe I have in mind). I’ve found that chopped tomatoes freeze better than whole ones, as they take up less space and thaw more evenly.
- Freezing: I lay the chopped tomatoes out on a baking sheet and flash freeze them for a couple of hours. This helps them freeze individually, so they don’t clump together in one big frozen mass. After that, I transfer them to freezer bags or containers and label them with the date.
Challenges with Freezing:
The biggest challenge I’ve faced with freezing tomatoes is that they lose their texture once thawed. Frozen tomatoes become quite mushy, so they’re best suited for recipes like soups, stews, sauces, and casseroles—things where you won’t mind the change in texture. If you’re hoping to use them in salads or as fresh toppings, freezing may not be your best option.
That said, for convenience, freezing is unbeatable. When I need a quick sauce or soup base, I grab a bag of frozen tomatoes, and I’m good to go.
Bottling (Canning) Tomatoes: A Classic, Long-Term Solution
When I started gardening more seriously, I wanted to preserve my tomatoes in a way that would allow me to enjoy them in more dishes—especially fresh ones. That’s when I discovered canning, or bottling as some call it.
Canning tomatoes has a steep learning curve, but it’s definitely worth the effort for long-term storage. The first time I tried canning, I had a few missteps, but once I got the hang of it, I was hooked. Bottling tomatoes allows you to store them for months or even years, without worrying about freezer space or spoilage.
How I Bottle (Can) Tomatoes:
- Sterilizing Jars: I start by sterilizing my canning jars. This is probably the most time-consuming part of the process, but it’s crucial for food safety. I boil the jars and lids for about 10 minutes before using them.
- Preparing Tomatoes: Similar to freezing, I blanch and peel the tomatoes. But this time, I often leave them whole or in large chunks, depending on how I want to use them later.
- Canning Process: I pack the prepared tomatoes into the sterilized jars, leaving a little headspace at the top. I add a bit of lemon juice (for acidity) to ensure proper preservation, and then I seal the jars with the lids.
- Processing: The jars are then processed in a hot water bath for about 40 minutes. This helps create a vacuum seal, which is essential for long-term storage. When I hear the “pop” of the lids sealing, I know the process was successful.
Challenges with Bottling:
Canning tomatoes is an effective method for preserving them, but it’s definitely not the quickest. The sterilizing, blanching, and processing steps can take a few hours, and you need to be very careful with food safety to avoid the risk of botulism or spoilage. Over time, I’ve learned that it’s crucial to follow instructions to the letter, especially when it comes to the acidity levels and processing times.
While it requires a bit more work, bottled tomatoes are great for recipes that call for fresh tomatoes. They retain their flavor better than frozen tomatoes, and they’re excellent for things like tomato sauces, salsas, or even just stewed tomatoes on top of a nice pasta.
Drying Tomatoes: Concentrated Flavors for Special Recipes
Drying tomatoes was the last preservation method I experimented with, and I have to admit—it’s been a game changer. While drying takes the longest of the three methods, the end result is worth it. Dried tomatoes are packed with flavor, and they’re perfect for adding a punch of umami to dishes like pasta, pizza, or salads.
How I Dry Tomatoes:
- Preparing the Tomatoes: I start by cutting my tomatoes in half, removing the seeds, and placing them cut-side up on a drying tray. I like to sprinkle them with a little bit of sea salt to help draw out moisture.
- Drying Process: I use a food dehydrator to dry my tomatoes, and it takes anywhere from 8 to 12 hours depending on the variety and size of the tomatoes. If you don’t have a dehydrator, you can also use an oven set to a low temperature (around 140°F), but it takes longer, and the oven needs to be watched carefully.
- Storing Dried Tomatoes: Once dried, I store my tomatoes in vacuum-sealed bags or airtight containers. They can last for months if kept in a cool, dry place.
Challenges with Drying:
The drying process can be a bit time-consuming, especially without a dehydrator. And if you don’t dry the tomatoes properly, they can spoil, so it’s important to get the texture just right. But the flavor you get from dried tomatoes is amazing! They’re like little flavor bombs that intensify when rehydrated or used in cooking.
Final Thoughts: Which Method Is Right for You?
After years of experimenting, I’ve found that each method of preserving tomatoes—freezing, bottling, and drying—has its own unique benefits, depending on your needs. Here’s a quick summary of when I choose each method:
- Freezing: Best for convenience and recipes where texture doesn’t matter too much (like soups or sauces).
- Bottling (Canning): Best for long-term storage and when you want your tomatoes to retain a more fresh-like texture for things like salsas or stews.
- Drying: Best for concentrated flavors and adding a punch of tomato goodness to recipes like pasta, salads, and pizzas.
Whatever method you choose, I can guarantee you’ll enjoy the fruits of your labor long after the growing season ends. If you found this information helpful, be sure to like, share, and subscribe to Lawnmowing99 for more tips and tricks on gardening, preserving, and making the most out of your harvests. Happy preserving!