Welcome to Lawnmowing99! If you’re like me and find yourself with a bumper crop of zucchini from your garden, you’re probably wondering what to do with all that fresh produce. Well, let me share a recipe with you that has been a game-changer in my kitchen—easy homemade zucchini chips! These crispy, flavorful chips are the perfect snack, and they’re a great way to use up extra zucchini while also enjoying a healthy, homemade treat.
I’ve been making zucchini chips for years now, and each time I make them, I’m reminded of just how simple, delicious, and versatile this recipe is. Whether you’re looking to create a crunchy snack, a topping for soups and salads, or a fun addition to a charcuterie board, zucchini chips can do it all. In this information, I’ll walk you through my step-by-step process, share a few personal tips I’ve learned along the way, and help you avoid the mistakes I made when I first started making them.
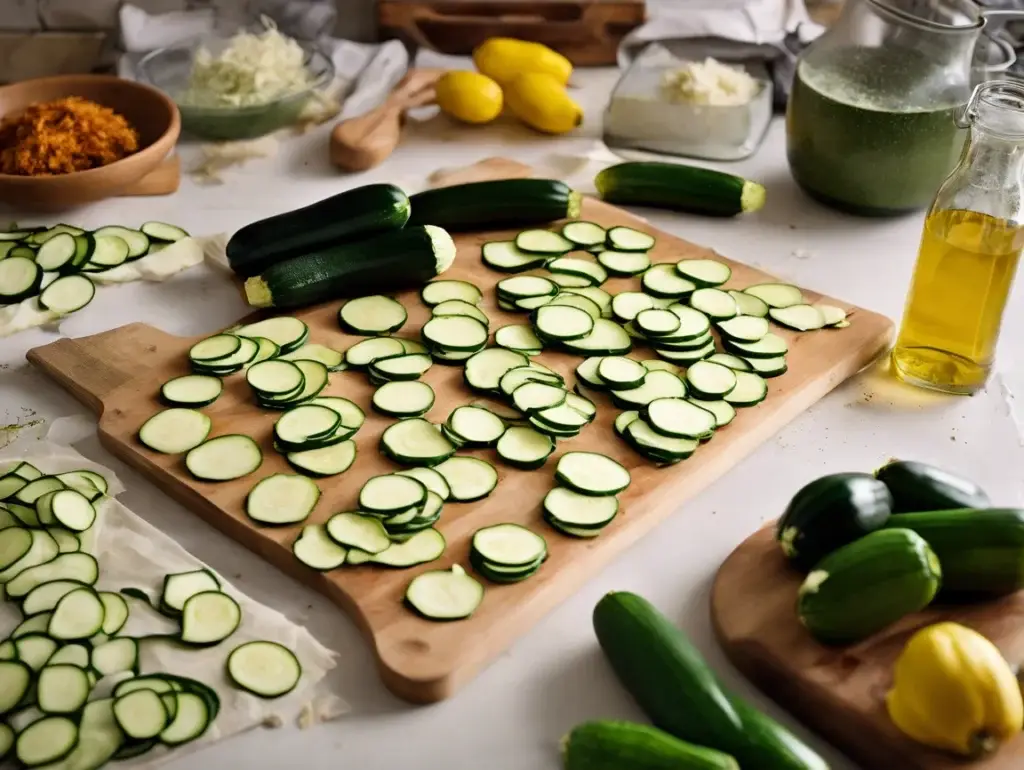
Step 1: Gathering Your Ingredients
Before we dive into the recipe, let’s talk about the ingredients you’ll need. Thankfully, this zucchini chips recipe is super simple, requiring only a handful of basic ingredients. Here’s what you’ll need:
- 2-3 medium zucchinis (fresh from your garden, of course!)
- Olive oil (about 2 tablespoons)
- Sea salt (to taste)
- Optional seasonings (garlic powder, paprika, black pepper, or even some grated Parmesan cheese for extra flavor)
Personal Experience: The first time I tried making zucchini chips, I didn’t realize just how much seasoning you could actually add. I stuck to just salt and olive oil, but once I experimented with garlic powder and a little paprika, my zucchini chips went from “meh” to “wow.” Don’t be afraid to get creative with your seasonings!
Step 2: Preparing Your Zucchini
Once you’ve gathered your ingredients, it’s time to prep the zucchini. The key to making perfect zucchini chips is slicing the zucchini thinly and evenly. This ensures that the chips bake evenly and get that perfect crisp texture.
Here’s how I prep my zucchini:
- Wash the zucchinis thoroughly to remove any dirt or residue from the garden.
- Slice the zucchini into thin rounds—about 1/8 inch thick. A mandoline slicer is perfect for this, as it ensures uniform slices. If you don’t have one, you can use a sharp knife, but be sure to slice them as evenly as possible for consistent results.
Personal Experience: Early on, I made the mistake of cutting the zucchini slices too thick. They took forever to cook, and some were soft while others were too crunchy. Once I figured out that thin slices were the key, I was hooked. A mandoline slicer is honestly a game-changer when making zucchini chips!
Step 3: Seasoning Your Zucchini
Now that your zucchini is sliced, it’s time to season it. This is where you can really get creative and make the recipe your own.
- Toss the zucchini slices in olive oil. I usually do this in a large bowl, using my hands to make sure each slice is coated evenly.
- Season the zucchini with sea salt and any other spices you’d like to add. I like to use garlic powder, black pepper, and sometimes paprika for a bit of extra flavor. If you’re feeling extra adventurous, a sprinkle of Parmesan cheese before baking can add a nice cheesy touch.
Personal Experience: At first, I was pretty cautious with the seasoning. I didn’t want to overdo it, but I quickly realized that zucchini chips can handle a decent amount of flavor. The more I experimented, the more I figured out which combinations I loved the most. Garlic powder and a little smoked paprika became my go-to.
Step 4: Arranging on the Baking Sheet
Once your zucchini slices are seasoned, it’s time to arrange them on the baking sheet. This step is crucial for achieving that crispy texture.
- Preheat your oven to 225°F (about 110°C). A low and slow cook is key to getting those zucchini chips nice and crispy without burning them.
- Line a baking sheet with parchment paper to prevent the chips from sticking.
- Arrange the zucchini slices in a single layer on the baking sheet. Make sure they’re not overlapping, as this can lead to uneven cooking.
Personal Experience: The first time I made zucchini chips, I didn’t realize how important it was to lay them out in a single layer. I stacked them up a bit, and some chips turned out soggy while others were perfect. Once I figured out that space is key, my chips turned out perfect every time.
Step 5: Baking Your Zucchini Chips
Now comes the waiting game. Baking zucchini chips takes time, but it’s totally worth it.
- Bake the zucchini slices in the preheated oven for 2 to 3 hours, checking on them every 30 minutes or so. The exact baking time can vary depending on the thickness of your slices, so keep an eye on them to avoid burning.
- After about 2 hours, you should start to notice the chips becoming golden brown and crisping up around the edges.
- Once they’re fully crispy, remove them from the oven and let them cool on the baking sheet for a few minutes.
Personal Experience: The first time I made zucchini chips, I wasn’t patient enough. I kept opening the oven to check, which made the temperature fluctuate, and they ended up cooking unevenly. Since then, I’ve learned to set a timer, walk away, and trust the process. Low heat and patience are key!
Step 6: Enjoying Your Zucchini Chips
Once your zucchini chips are crispy and golden, it’s time to enjoy the fruits of your labor!
- Eat them straight from the baking sheet as a healthy snack.
- Store them in an airtight container for up to a week—if they last that long!
- Serve them as a crunchy topping for soups, salads, or even as a side with your favorite sandwich.
Personal Experience: I’m not exaggerating when I say that these zucchini chips don’t last long in my house. My kids love them, and I love how simple and healthy they are. Sometimes, I catch them sneaking them out of the kitchen before I even get a chance to put them in a container!
Tips for Perfect Zucchini Chips Every Time:
- Pat the slices dry before seasoning. If you have excess moisture, it can make your chips soggy. A paper towel or clean kitchen cloth can help.
- If you’re using Parmesan cheese, add it about 5 minutes before the chips are done baking, so it doesn’t burn.
- If you prefer a spicy kick, a pinch of cayenne pepper or chili flakes can take these chips to the next level.
- Air fryer option: If you have an air fryer, you can also make zucchini chips by following the same steps but adjusting the cooking time to around 15-20 minutes at 375°F. Air fryers can produce even crispier results in less time!
Conclusion
And there you have it—my easy homemade zucchini chips recipe for snacking! I’ve been making these chips for years, and they’ve never failed to impress. Whether you’re looking for a healthy snack, a crunchy topping, or just something to do with all that extra zucchini from your garden, this recipe is a must-try.
I hope you found this information helpful and that you’re now excited to give it a go in your own kitchen. If you’ve enjoyed this information, be sure to like, share, and subscribe to Lawnmowing99 for more gardening tips and delicious recipes. And remember, there’s no wrong way to enjoy zucchini chips—get creative and make them your own!
Happy snacking, and I can’t wait to hear how your zucchini chips turn out!